What is LAMP?

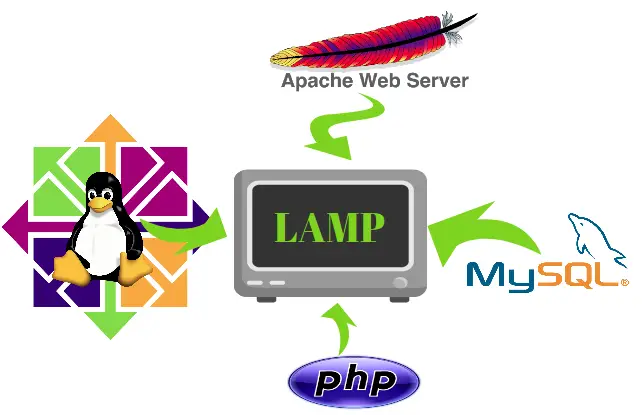
    LAMP stands for Linux with Apache, Mysql and PHP. In this article we are going to see how to install a LAMP stack in Centos 7 machine. We are going to install all these packages through source installation which allows us to install required versions.

Installing Apache:

    On my previous articles i showed how to run a customized apache through source installation. Click here if you miss the article for installing Apache.

Installing Mysql:

    On centos 7 the default mysql server is MariaDB. You can either install MariaDB directly or MYSQL through repository. I have provided steps for both installation. But i suggest to go with MYSQL since it supports more applications like wordpress,etc.,.

Installing MariaDB through Yum,

$ yum install mariadb-server

$ systemctl start mariadb

Installing through rpm,

Downloading and adding the repository,

$ wget http://repo.mysql.com/mysql-community-release-el7-5.noarch.rpm

$ rpm -ivh mysql-community-release-el7-5.noarch.rpm

Installing MySQL,

After adding the repository install mysql as usual and start the service. During the installation, you will be asked if you want to accept the results from the .rpm file’s GPG verification. enter y.

$ yum install mysql-server

$ service mysqld start

Installing PHP:

    As already told we are configuring applications through source installations. For the latest Centos machines the default PHP will be Version-5. This has some drawbacks since we cannot run certain applications on PHP-5. To avoid such issues we are going to configure PHP higher than 5 through source installation.

Downloading the source package,

    Download the package from PHP official site. Click here to go to the downloads page. This page has the latest stable version for PHP. 

For older versions Click here.

$ wget http://am1.php.net/get/php-7.2.11.tar.gz/from/this/mirror

$ tar -xzf mirror

Follow the steps for source installation,
$ cd php-7.2.11

Dependencies and solutions:
    Before configuring the PHP, it should met some dependencies to be installed inorder to avoid config errors,

$ yum install libmcrypt-devel openldap-devel gcc-c++ libicu-devel libpng-devel libjpeg-devel curl-devel bzip2-devel libxml2-devel gcc openssl-devel mysql-devel

Downloading and adding libmcrypt repository,

$ wget http://dl.fedoraproject.org/pub/epel/7/x86_64/Packages/l/libmcrypt-2.5.8-13.el7.x86_64.rpm

$ wget http://dl.fedoraproject.org/pub/epel/7/x86_64/Packages/l/libmcrypt-devel-2.5.8-13.el7.x86_64.rpm

$ rpm -Uvh libmcrypt-2.5.8-13.el7.x86_64.rpm

$ rpm -Uvh libmcrypt-devel-2.5.8-13.el7.x86_64.rpm

Enter the below configure command after installing all the dependencies,

$ ./configure --prefix=/usr/local/php --with-apxs2=/usr/local/apache-2.4.37/bin/apxs --with-mysqli --with-zlib --with-zlib-dir --with-bz2 --with-gd --with-curl --with-gettext --with-config-file-path=/usr/local/apache-2.4.37/conf --enable-ftp --enable-mbstring --with-openssl --with-jpeg-dir=/usr/lib64/ --with-libdir=lib64 --prefix=/usr/local/php --with-ldap --with-ldap-sasl --enable-gd-native-ttf --with-pdo-mysql=mysqlnd --enable-intl --enable-exif --enable-zip

The above command configures PHP with the given apache server path with necessary modules to run a LAMP stack.
For more modules you can refer the below the command

$ ./configure --prefix=/usr/local/php71/7.1.0-rc.5_9 --localstatedir=/usr/local/var --sysconfdir=/usr/local/etc/php/7.1 --with-config-file-path=/usr/local/etc/php/7.1 --with-config-file-scan-dir=/usr/local/etc/php/7.1/conf.d --mandir=/usr/local/php71/7.1.0-rc.5_9/share/man --enable-bcmath --enable-calendar --enable-dba --enable-exif --enable-ftp --enable-gd-native-ttf --enable-mbregex --enable-mbstring --enable-shmop --enable-soap --enable-sockets --enable-sysvmsg --enable-sysvsem --enable-sysvshm --enable-wddx --enable-zip --with-freetype-dir=/usr/local/opt/freetype --with-gd --with-gettext=/usr/local/opt/gettext --with-iconv-dir=/usr --with-icu-dir=/usr/local/opt/icu4c --with-jpeg-dir=/usr/local/opt/jpeg --with-kerberos=/usr --with-libedit --with-mhash --with-ndbm=/usr --with-png-dir=/usr/local/opt/libpng --with-xmlrpc --with-zlib=/usr --with-readline=/usr/local/opt/readline --without-gmp --without-snmp --with-libxml-dir=/usr/local/opt/libxml2 --with-pdo-odbc=unixODBC,/usr/local/opt/unixodbc --with-unixODBC=/usr/local/opt/unixodbc --with-apxs2=/usr/local/bin/apxs --libexecdir=/usr/local/php71/7.1.0-rc.5_9/libexec --with-bz2=/usr --with-openssl=/usr/local/opt/openssl --enable-fpm --with-fpm-user=_www --with-fpm-group=_www --with-curl --with-xsl=/usr --with-ldap --with-ldap-sasl=/usr --with-mysql-sock=/tmp/mysql.sock --with-mysqli=mysqlnd --with-pdo-mysql=mysqlnd --disable-opcache --enable-pcntl --without-pear --enable-dtrace --disable-phpdbg --enable-zend-signals

Note: --with-mysqli should be used instead of --with-mysql for PHP-7 and higher versions.
Run make and make install to complete the installation,
$ make

$ make install

The PHP module will be enabled after the installation, but still we need to edit the httpd.conf file to run a PHP server.
Changes to be done in httpd.conf:
Your dir_module should allow index.php files,
<ifmodule dir_module>
DirectoryIndex index.html index.php
</IfModule>

Add the below lines inside mime_module
   AddType applications/x-httpd-php .php .phtml
   AddType applications/x-httpd-php-sources phps

Finally add the filesmatch declaration at the end of the httpd.conf,

<filesmatch \.php$>
SetHandler application/x-httpd-php
</FilesMatch>

Now you have configured PHP with your Apache server.

To test the LAMP stack create a PHP info file in the Document root,

$ vim /usr/local/apache-2.4.37/htdocs/info.php

Enter the below contents in the file,
<?php
phpinfo();
?>

Start the apache process after testing the configuration,
$ /usr/local/apache-2.4.37/bin/apachectl -t

$ /usr/local/apache-2.4.37/bin/apachectl start

Now enter the IP address or 127.0.0.1(If you installed in your local system) on the browser like,
IP_address/info.php or 127.0.0.1/info.php
If your installation is successful you will be able to view the PHP informations on your browser.


Feel free to ask if you have any questions on the comment box.

Comments

  1. Be the first to add a comment.